
XAMPP MySQL(MariaDB)のrootパスワード設定方法
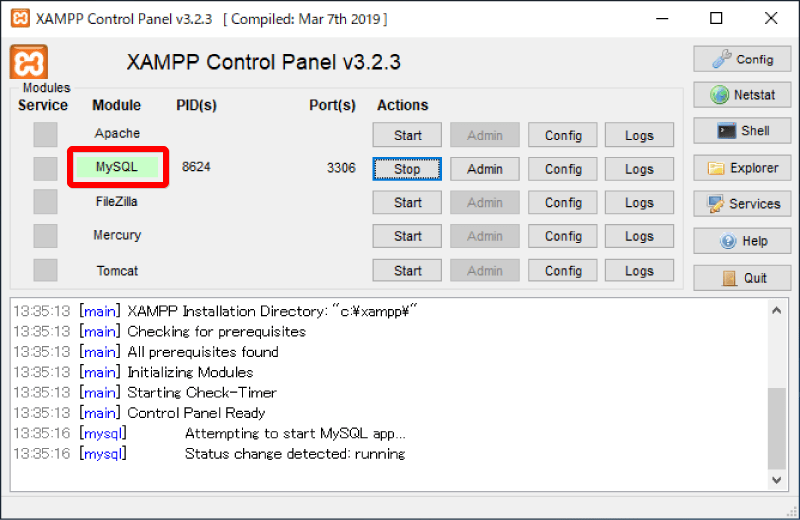
「XAMPP」を起動し「MySQL」を起動

コマンドプロンプトを起動
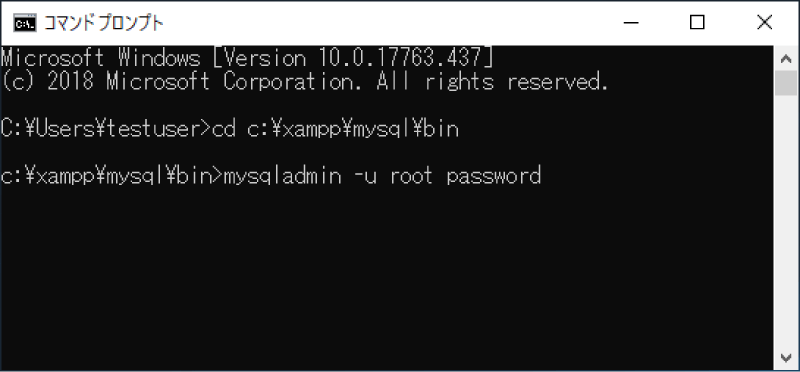
「(XAMPPをインストールしたディレクトリ)¥mysq¥bin」ディレクトリへ移動
例では、cd c:¥xampp¥mysql¥binと入力
rootパスワードの設定
mysqladmin -u root passwordと入力
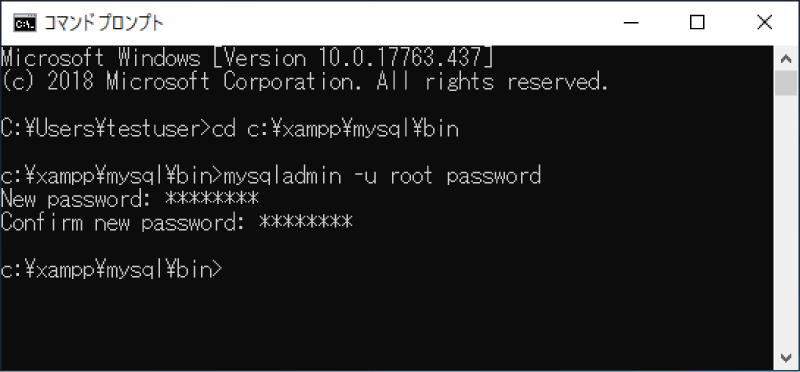
設定したいrootパスワードを2回入力
MySQL(MariaDB)のrootパスワードが設定できました
XAMPP MySQL(MariaDB)のrootパスワード設定後の接続確認
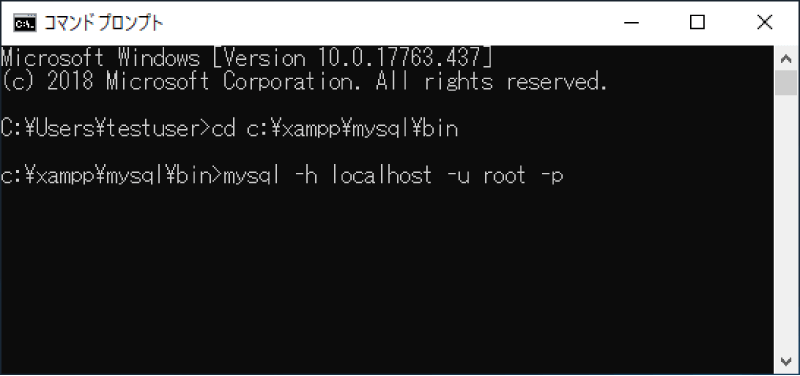
接続確認
mysql -h localhost -u root -pと入力
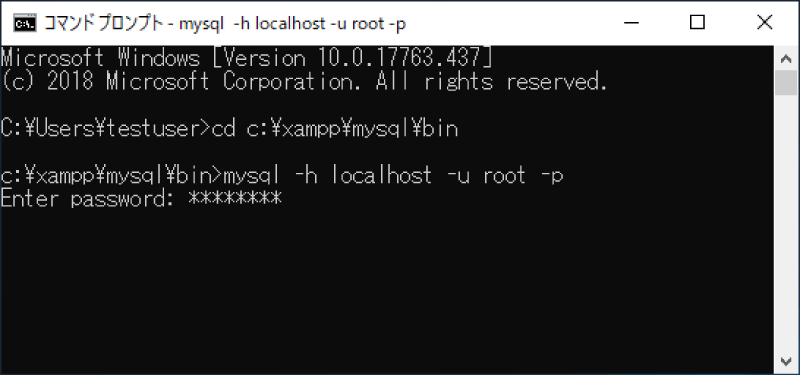
設定したrootパスワードを入力
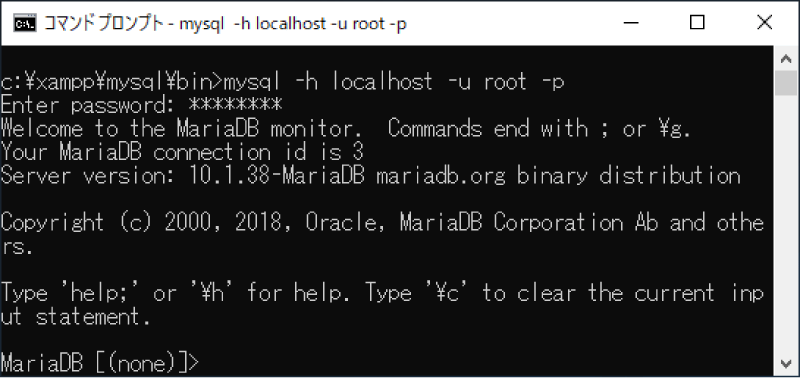
MariaDB[(none)] >と表示されれば接続OK
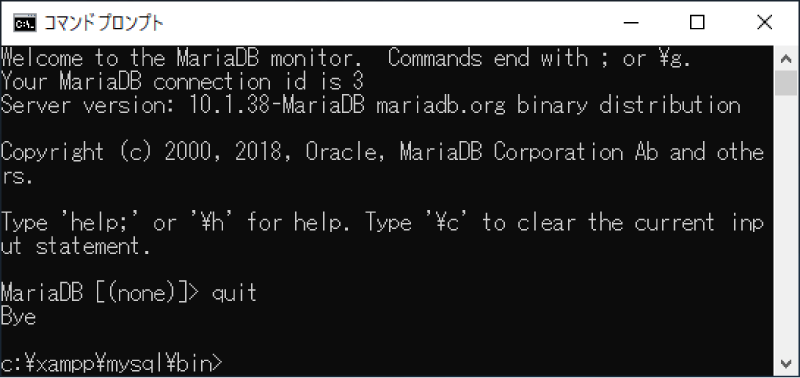
quitと入力してMySQLを終了
XAMPP MySQL(MariaDB)のrootパスワード設定後のphpMyAdmin設定
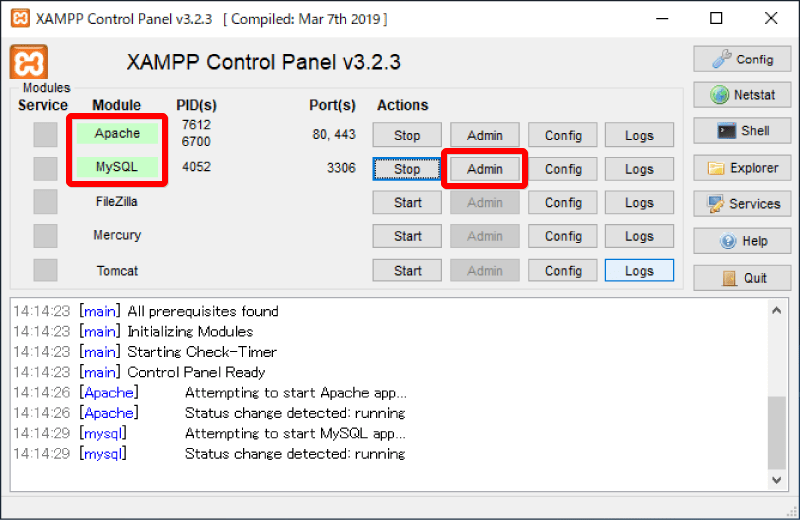
「Apache」と「MySQL」を起動し、「MySQL」右の「Admin」で「phpMyAdmin」を起動
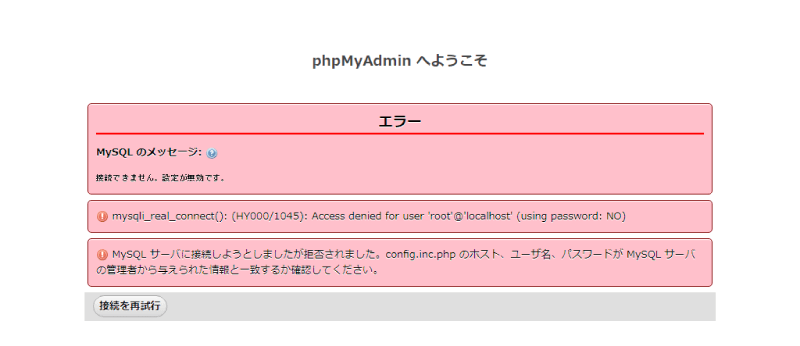
rootのパスワードを設定したので「エラー」となり、起動(接続)不可
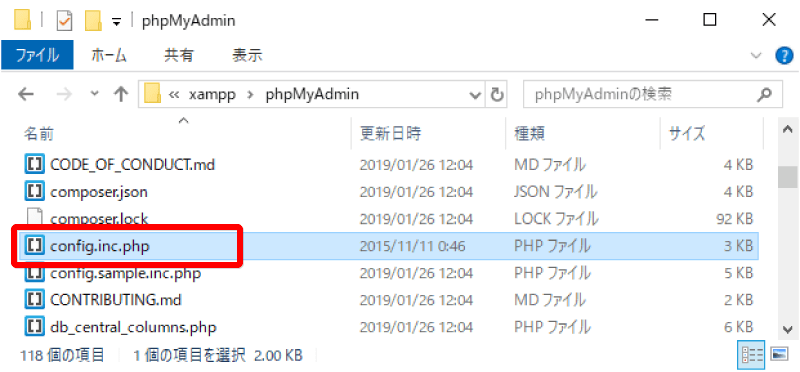
「(XAMPPをインストールしたディレクトリ)¥phpMyAdmin」にある「config.inc.php」を編集
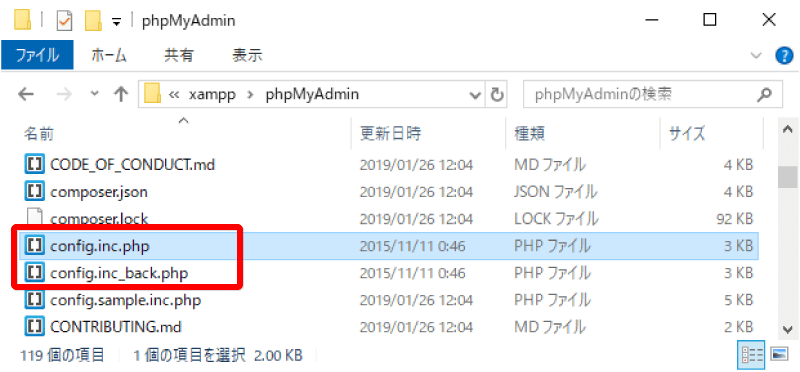
失敗した時に元に戻せるよう、必ずバックアップを取ってから修正してください。
テキストエディタで「config.inc.php」を開き
$cfg[‘Servers’][$i][‘password’] = ”
に設定したrootパスワードを入力
config.inc.php 修正前
/* Authentication type and info */
$cfg['Servers'][$i]['auth_type'] = 'config';
$cfg['Servers'][$i]['user'] = 'root';
$cfg['Servers'][$i]['password'] = '';
$cfg['Servers'][$i]['extension'] = 'mysqli';
$cfg['Servers'][$i]['AllowNoPassword'] = true;
$cfg['Lang'] = '';
config.inc.php 修正後
/* Authentication type and info */
$cfg['Servers'][$i]['auth_type'] = 'config';
$cfg['Servers'][$i]['user'] = 'root';
$cfg['Servers'][$i]['password'] = '設定したrootパスワード';
$cfg['Servers'][$i]['extension'] = 'mysqli';
$cfg['Servers'][$i]['AllowNoPassword'] = true;
$cfg['Lang'] = '';
「Apache」と「MySQL」を起動し、「MySQL」右の「Admin」で「phpMyAdmin」を起動
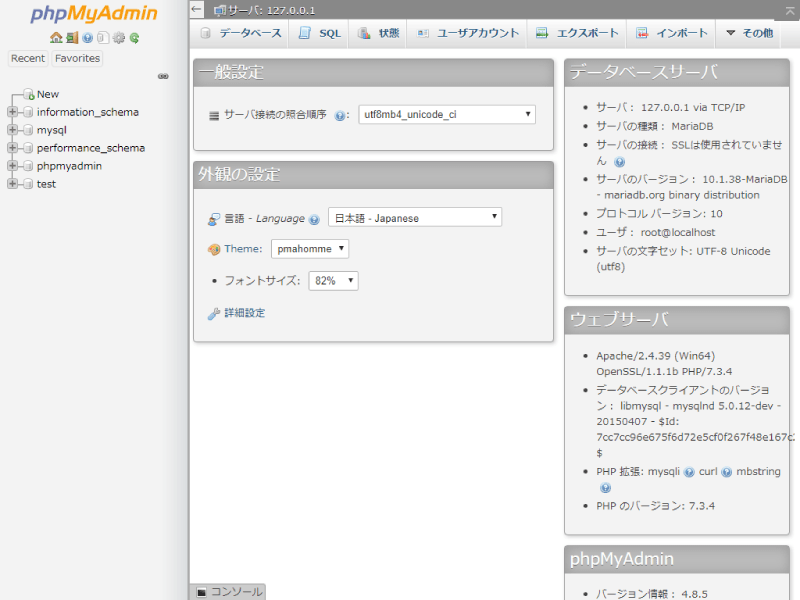
「phpMyAdmin」が起動できました
以上
広告